How to Break In a New Motor: The Ultimate Guide for Engine Longevity and Performance
You’ve just invested a significant amount of time, money, and passion into a new vehicle or a freshly rebuilt engine. The gleaming metal holds so much promise—of power, reliability, and countless miles of enjoyment. But before you unleash its full potential, there’s one critical process you absolutely cannot skip: the engine break-in. If you’ve ever wondered how to properly break in a new motor to ensure it lives a long, healthy life, you’re in exactly the right place.
This isn’t just an old mechanic’s tale; it’s a fundamental engineering necessity. The first few hours and miles of an engine’s life set the stage for its entire future. Getting it right means maximizing power, improving fuel economy, and drastically increasing its lifespan. Getting it wrong? Well, that can lead to premature wear, excessive oil consumption, and performance that never quite lives up to its promise.
What We’ll Cover
This guide will walk you through everything you need to know, from the science behind the process to step-by-step instructions for different types of motors. Here’s a roadmap of what’s ahead:
- The Core Purpose: What Engine Break-In Achieves
- General Principles for Breaking In Any New Motor
- Specific Break-In Procedures by Engine Type
- The Role of Engine Oil in Break-In
- Common Break-In Mistakes to Avoid
- When Is Break-In Complete? Signs and Next Steps
- Invest in Your Engine’s Future
The Core Purpose: What Engine Break-In Achieves
So, what’s really happening inside that new engine during the break-in, or “run-in,” period? It’s not just about being gentle; it’s an active process of conditioning and mating brand-new, precision-machined components. Think of it as the engine’s first, most important workout.
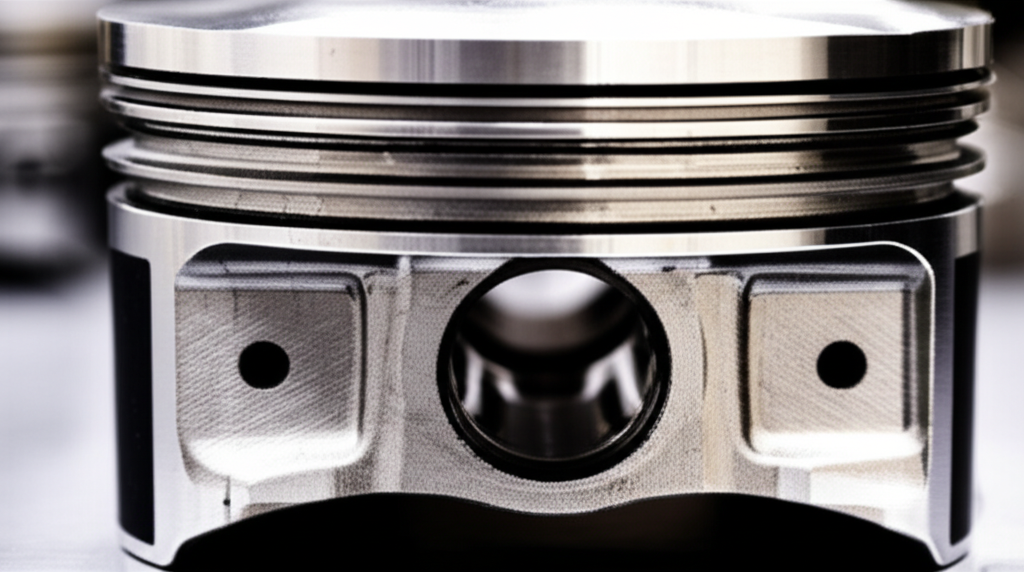
Piston Ring Seating: The Most Critical Step
The single most important goal of engine break-in is to seat the piston rings against the cylinder walls.
- What are Piston Rings? These are small, split rings that fit into grooves on the piston. They have three main jobs: seal the combustion chamber to build compression, control oil from splashing up from the crankcase, and transfer heat from the piston to the cylinder wall.
- Why Seating Matters: A new cylinder wall has a precise cross-hatch pattern machined into it. This pattern acts like a file, gently wearing the surface of the new piston rings so they create a near-perfect seal. Proper seating ensures maximum compression (horsepower and torque), minimal “blow-by” (combustion gases leaking past the rings), and efficient oil control.
Here’s the kicker: automotive engineering consensus shows that 90-95% of piston ring seating happens within the first 20-50 miles of operation, provided it’s done under the right kind of load. This is your one and only shot to get it right. If the rings don’t seat correctly, the cylinder walls can become glazed and smooth, and that perfect seal will never be achieved.
Component Mating: A Mechanical Symphony
Beyond the rings and cylinders, every moving part in a new engine needs to get acquainted. The crankshaft bearings, camshaft lobes, lifters, and valve train components all have microscopic high spots from the manufacturing process. The break-in period allows these surfaces to gently polish each other, creating a smooth, low-friction relationship that will last for years. Rushing this process can cause galling or scuffing, leading to premature wear.
Heat Cycling: Relieving Stress
A new engine block, cylinder head, and other major castings contain internal stresses from the manufacturing process. Heat cycling—the process of bringing the engine up to full operating temperature and then letting it cool down completely—is crucial. Performing 3-5 heat cycles during the initial run-in helps relieve these stresses, stabilizes the dimensions of the components, and ensures everything settles into its final shape without warping or cracking under pressure.
General Principles for Breaking In Any New Motor
While specific procedures vary, a few universal truths apply to breaking in almost any new internal combustion engine. These principles are designed to achieve the goals we just discussed.
1. Vary Your Engine RPMs
This is the golden rule. Avoid holding the engine at a constant speed for any extended period during the first few hundred miles. Driving on the highway with cruise control is one of the worst things you can do.
Why? Varying the engine speed changes the load and pressure on the piston rings, forcing them to move and press against the cylinder walls in different ways. This dynamic action is essential for wearing them into the cross-hatch pattern. Think of it as sanding a piece of wood—you get a much smoother finish by varying your strokes rather than just rubbing one spot over and over.
2. Apply Load (But Don’t Overdo It)
An engine needs cylinder pressure to properly seat the rings and you only build that pressure under load. This is why just idling an engine for hours won’t break it in. You need to actually drive it.
- Good Load: Moderate acceleration through the gears (e.g., accelerating from 30 to 55 mph in 4th gear) creates the pressure needed to push the rings firmly against the cylinder walls.
- Engine Braking: Decelerating in gear is just as important. This creates high vacuum in the cylinders, which pulls oil up onto the cylinder walls to provide crucial lubrication and flush away tiny metal particles from the wear-in process.
A good rhythm is a series of moderate accelerations followed by decelerations in gear. This “push-pull” on the rings is the magic formula.
3. Monitor Engine Vitals Like a Hawk
During the initial startup and first few runs, your eyes should be glued to the gauges.
- Oil Pressure: This is your engine’s lifeblood. Ensure you have good pressure immediately upon startup and that it stays within the recommended range.
- Coolant Temperature: Watch for any signs of overheating. A new engine can run slightly hotter as components generate more friction, but it should remain stable.
- Listen and Look: Pay attention to any unusual engine noises—ticks, knocks, or whines. After each run, check for any fluid leaks (oil, coolant, fuel).
4. Avoid Lugging and High RPMs
- No Lugging: Lugging is when you’re in too high a gear for your speed, forcing the engine to operate at very low RPMs under a heavy load (e.g., trying to accelerate up a hill in 5th gear). This puts immense stress on the crankshaft bearings and connecting rods. Downshift!
- No Redline… Yet: While load is good, sustained high RPMs are not. This creates excessive heat and friction on components that haven’t fully mated yet. Avoid full-throttle, redline blasts until the break-in period is complete.
Specific Break-In Procedures by Engine Type
The intensity and focus of the break-in process can change depending on what kind of motor you’re dealing with.
For New Production Vehicles (Cars, Trucks, SUVs)
Modern manufacturing tolerances are incredibly precise, so the break-in for a brand-new car off the lot is less intense than for a custom rebuild. However, it’s still vital.
- Rule #1: Read the Owner’s Manual. The manufacturer built the car, so their guidelines are your primary source.
- First 500-1,000 Miles: This is your critical window. The advice is usually consistent:
- Vary your speed and avoid cruise control. A mix of city and country road driving is ideal.
- Avoid hard acceleration and full-throttle starts.
- Keep RPMs in the mid-range (e.g., below 4,000 RPM for most cars).
- Avoid heavy towing or loading the vehicle to its maximum capacity.
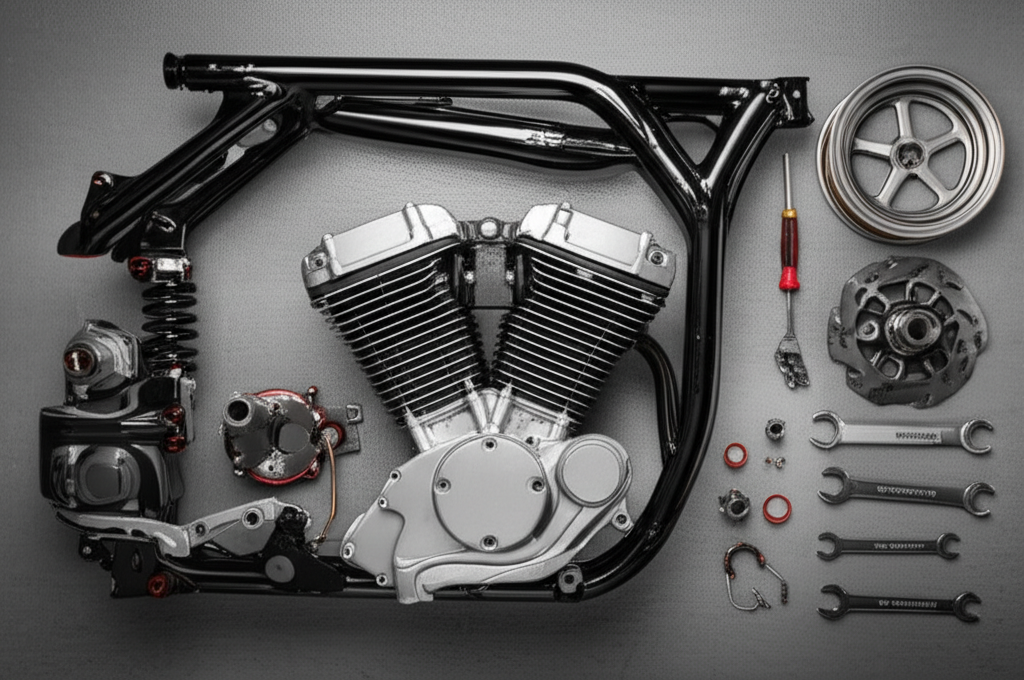
For Rebuilt or New Crate Engines
This is where the break-in process is far more hands-on and critical. Your engine builder’s reputation—and your investment—is on the line.
- Initial Start-Up is Everything:
- The First Drive: Once the initial checks are done, get the car on the road and start applying load immediately. Do several moderate-to-firm acceleration runs (e.g., 50% throttle) through the gears, followed by engine braking. This is where you seat those rings.
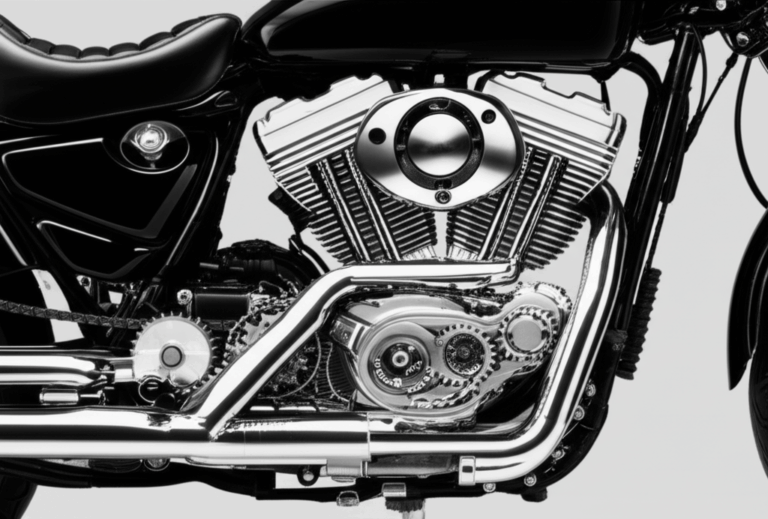
For Motorcycle Engines
Motorcycles often have higher-revving engines and shared gearboxes, making their break-in just as critical. The principles are the same: vary RPMs, use a mix of acceleration and engine braking, and perform heat cycles. Many riders prefer a “hard break-in” method, using short bursts of hard acceleration on back roads to seat the rings quickly and effectively.
For Small Engines and Marine Outboards
Even your lawnmower, generator, or boat motor benefits from a proper break-in. The owner’s manual is your best friend here. The process is often simpler:
- Ensure proper oil levels.
- Run the engine under a light-to-moderate load for the first few hours.
- Vary the throttle position; don’t just leave it on one setting.
- Perform an early first oil change to remove initial wear metals.
A Note on Electric Motors
It’s fascinating to contrast the mechanical break-in of an internal combustion engine with the principles of electric motors. While a gas engine relies on the precise mating of dozens of moving parts, the performance of an electric motor is deeply rooted in its electromagnetic design. The efficiency and power of a brushless DC motor, for example, are determined by the interaction between magnets and the electromagnetic field generated in the stator. The quality of the motor core laminations and the specific properties of the electrical steel laminations used are paramount. Understanding the core motor principle reveals a world governed by magnetic flux rather than mechanical friction, highlighting a completely different set of engineering challenges. The construction of a bldc stator core is a science in itself, focused on minimizing energy loss and maximizing torque density.
The Role of Engine Oil in Break-In
The oil you use during the break-in is more than just a lubricant; it’s an active participant in the process.
Conventional vs. Synthetic Oil
This is one of the biggest debates in the engine world. For the critical break-in period, the old wisdom often holds true: use conventional oil or a dedicated break-in oil.
Why? Modern synthetic oils are too good. Their exceptional lubricity can prevent the piston rings from creating enough friction against the cylinder walls to seat properly. Conventional mineral oil provides adequate protection but still allows for the controlled wear needed for a perfect seal. Once the engine is broken in (after about 500-1,000 miles), you can switch to your preferred high-quality synthetic.
Break-In Oil and Additives (ZDDP)
For rebuilt engines, especially those with flat tappet camshafts, using a specialized break-in oil is highly recommended. These oils are formulated with high levels of ZDDP (Zinc Dialkyldithiophosphate), an anti-wear additive. ZDDP levels in modern “street” oils have been reduced to protect catalytic converters, but these high levels (e.g., 1200-1500 ppm) are critical for protecting new, high-friction surfaces like cam lobes from catastrophic failure during their initial run.
The All-Important First Oil Change
The first oil change is the most important one your engine will ever have. The oil will be filled with:
- Tiny metal particles from the rings, cylinders, and bearings wearing in.
- Assembly lubes used during the engine build.
- Other contaminants from the manufacturing process.
You need to get this stuff out of there—fast.
- For Rebuilt/Crate Engines: Change the oil and filter after the first 20-50 miles or after the initial dyno session. This removes the vast majority of harmful break-in debris. A second change around 500-1000 miles is also a great idea.
- For New Production Vehicles: Follow the manufacturer’s recommendation. They often use special factory-fill oils designed for the initial run, and the first recommended change might be anywhere from 1,000 to 5,000 miles.
Common Break-In Mistakes to Avoid
A properly broken-in engine can see its operational lifespan increase by 10-25%. Avoiding these common mistakes is key to achieving that.
When Is Break-In Complete? Signs and Next Steps
So, how do you know when you can finally open it up? There isn’t a magic light that turns on, but there are clear milestones and signs.
- Mileage Milestones: Most break-in periods are considered complete between 500 and 1,500 miles. For a performance rebuild, the most critical part is over after the first 50-100 miles, but the engine will continue to settle and improve for a while.
- Signs of a Healthy Break-In: As the miles rack up, you should notice the engine running more smoothly. Throttle response will feel crisper, and you may see a slight improvement in fuel economy as internal friction decreases. Most importantly, oil consumption should be stable and very low.
- Post Break-In Maintenance: After you’ve passed the break-in mileage, perform a final “break-in” oil change. Switch to a high-quality synthetic oil of the manufacturer’s recommended viscosity. Now, you can begin to explore the upper limits of the RPM range and enjoy the full performance of your engine, knowing you’ve given it the best possible start in life.
Conclusion: Invest in Your Engine’s Future
Breaking in a new motor isn’t a chore; it’s the final, crucial step of the assembly process. It’s an investment of patience and diligence that pays massive dividends in performance, efficiency, and longevity.
By understanding what’s happening inside the engine—the critical seating of the piston rings, the gentle mating of new components, and the stabilization through heat cycles—you can appreciate why the procedure is so important. By varying RPMs, applying moderate load, using the right oil, and avoiding common pitfalls, you are actively ensuring your engine will be strong and reliable for years to come.
So take your time, follow the steps, and listen to your new motor. You’ve got one chance to do it right, and the reward is an engine that performs exactly as it was designed to—powerfully and dependably.