How to Build a Motor Bike: Your Complete DIY Guide to Custom Motorcycle Fabrication
There’s a special kind of magic that happens when steel, rubber, and fire come together to create something that moves not just your body but your soul. For many, that magic is a motorcycle. But there’s an even deeper satisfaction, a connection that goes beyond just riding—the profound pride of building the machine yourself. If you’ve ever looked at a custom bike and thought, “I could do that,” or felt the pull to create a ride that is uniquely, unapologetically yours, you’re in the right place.
Embarking on a custom motorcycle project is a journey. It’s a challenging, sometimes frustrating, but ultimately incredible experience that teaches you about mechanics, fabrication, and your own perseverance. This isn’t just about saving a few bucks; it’s about the learning, the personalization, and the unmatched feeling of twisting the throttle on something you built with your own hands.
This guide is your roadmap. We’ll walk you through the entire process, from the first spark of an idea to the final, triumphant roar of your street-legal creation. Let’s get building.
In This Article
- Planning Your Custom Motorcycle Build
- Sourcing Components & Materials
- The Fabrication & Assembly Process
- Testing, Tuning & Legalization
- Common Challenges & How to Overcome Them
1. Planning Your Custom Motorcycle Build
Before you pick up a single wrench or grinder, you need a plan. A solid plan is the foundation of a successful build and the single best way to avoid the common pitfalls that leave so many projects collecting dust. Think of this phase as creating the blueprint for your dream.
Defining Your Vision & Style
First, what kind of bike are you building? The style you choose dictates everything from the donor bike you might use to the ergonomics and performance goals.
- Cafe Racer: Characterized by low-slung handlebars, a minimalist seat, and a stripped-down look, these bikes are built for speed and aggressive posture.
- Bobber: Think “less is more.” Bobbers traditionally have shortened (“bobbed”) fenders, a solo seat, and no extraneous parts.
- Chopper: The iconic style with raked-out front ends, tall handlebars (“ape hangers”), and a stretched frame. This style often requires advanced fabrication skills.
- Scrambler: Built for on- and off-road versatility, scramblers feature knobby tires, high-mounted exhaust pipes, and a rugged aesthetic.
- Street Tracker: Inspired by flat-track racing bikes, these have a purposeful, lean look with wide handlebars and a distinctive tail section.
- Electric: An emerging and exciting frontier. An electric motorcycle DIY project involves a different set of challenges, focusing on batteries, motor controllers, and wiring rather than carburetors and exhaust.
Research each style. Look at pictures, study existing builds, and think about what kind of riding you want to do. The eventual motor application will heavily influence your initial design choices.
Research & Design Phase
With a style in mind, it’s time to get specific. Start a scrapbook, a Pinterest board, or just a folder on your computer to gather inspiration. Pay attention to the details: the shape of the fuel tank, the type of suspension, the placement of the footpegs.
This is also where you start thinking technically. Will you use a donor bike? If so, which models have a frame and engine that fit your vision? You can use hand sketches, detailed blueprints, or even CAD software to create mock-ups. This helps you visualize the final product and, more importantly, identify potential parts compatibility issues before you spend any money.
Budgeting & Cost Estimation
Let’s talk money because this is where dreams can hit a wall. Building a custom motorcycle is rarely cheaper than buying a used one, but the value is in the personalization. Be brutally honest with yourself about your budget.
- Low-End Build ($1,500 – $5,000): This usually involves a good-condition donor bike and mostly cosmetic changes, bolt-on parts, and maybe some minor fabrication.
- Mid-Range Build ($5,000 – $15,000): You’re looking at a more comprehensive project with custom parts, a possible engine rebuild, professional paint or powder coating, and more significant fabrication.
- High-End Build ($15,000 – $30,000+): This is the realm of scratch-built frames, high-performance engines, top-of-the-line components, and pro-level finishing.
Pro Tip: Whatever you budget, add 20-30% for a contingency fund. Anecdotal data shows that over 40% of DIY projects experience significant budget overruns. Unexpected problems, broken parts, and the “while I’m in there” upgrades can add up fast.
Navigating Legalities & Regulations
This is the single most overlooked—and most critical—part of planning. A beautiful bike that you can’t legally ride is just a heavy sculpture.
- VIN & Title: Does your donor bike have a clean title? If you’re building a frame from scratch or heavily modifying an existing one, you’ll likely need to go through a state-assigned VIN (Vehicle Identification Number) process. This involves paperwork, inspections, and a lot of patience. Research your state’s or country’s specific laws for “custom-built” or “reconstructed” vehicles before you start.
- Street-Legal Requirements: Every jurisdiction has rules about what makes a motorcycle street legal. This includes things like headlights, taillights, brake lights, turn signals, a horn, mirrors, and a license plate mount.
- Safety Inspections: Many states require a safety inspection before they’ll issue a title and registration for a custom build. They’ll check your welds, brakes, and overall roadworthiness.
Workshop & Essential Tools Setup
You don’t need a professional workshop, but you do need a dedicated space where you can make a mess and leave a project partially assembled. A garage is ideal. At a minimum, you’ll need:
- Basic Hand Tools: A good set of wrenches (metric and imperial), a comprehensive socket set, screwdrivers, pliers, and hex keys.
- Power Tools: An angle grinder is non-negotiable for cutting and grinding metal. A drill is also essential.
- Welder: A decent MIG welder is a great starting point for most fabrication tasks. If you plan on working with aluminum or want finer control, a TIG welder is the next step up. Practice your motorcycle welding basics before you ever touch your frame.
- Safety Equipment: This is not optional. Get high-quality safety glasses, hearing protection, welding gloves, a welding helmet, and a respirator for painting and grinding. A fire extinguisher should be within arm’s reach at all times.
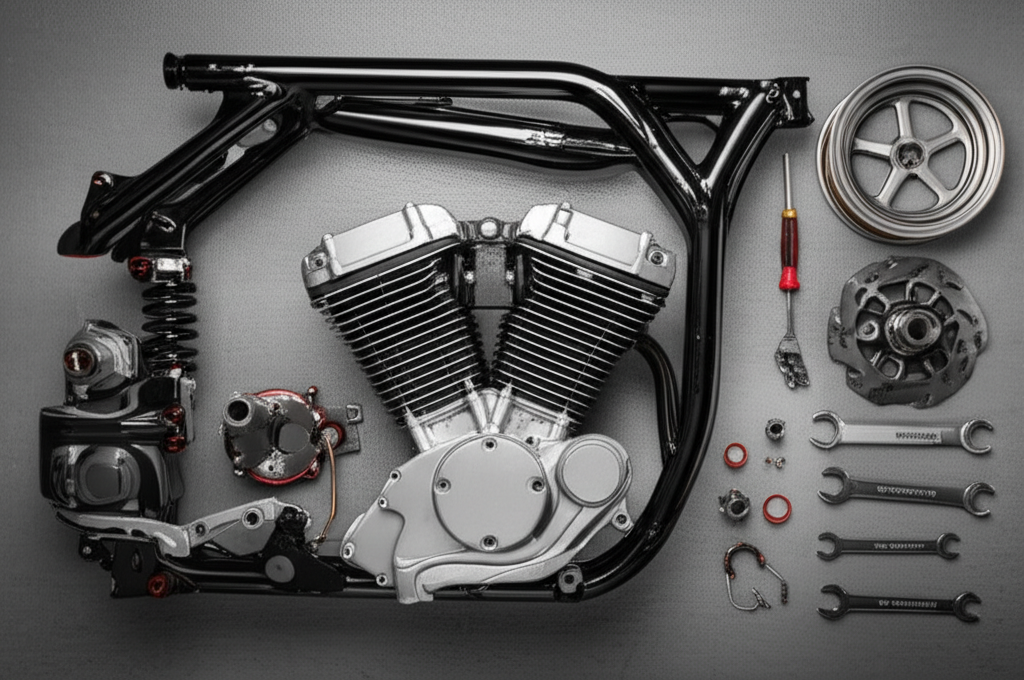
2. Sourcing Components & Materials
With your plan in place, the treasure hunt begins. Sourcing the right parts is half the fun and half the challenge.
Donor Bike vs. Scratch Build
This is your first major decision.
- Using a Donor Bike: This is the most common path. You start with a complete, running motorcycle. The massive advantage is that you already have a titled frame, a working engine, a wiring harness, and a ton of compatible parts. It’s a fantastic shortcut. When selecting a donor, prioritize a healthy engine, a straight frame, and a clean title.
- Building from Scratch: This offers ultimate creative freedom but is exponentially more difficult. You’ll need to source or fabricate every single component, from the frame and engine down to the last nut and bolt. This is generally reserved for advanced builders.
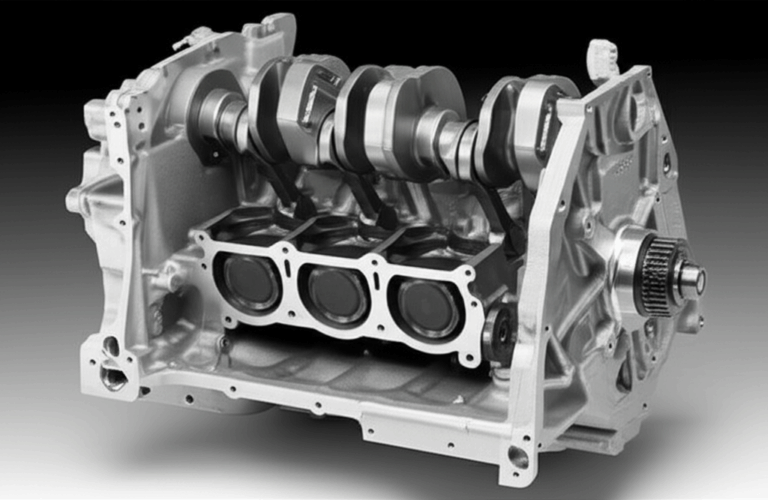
Selecting Your Engine & Drivetrain
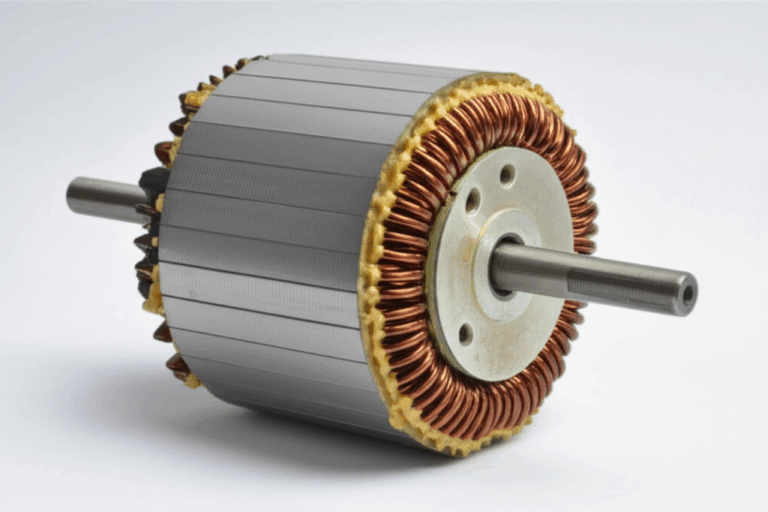
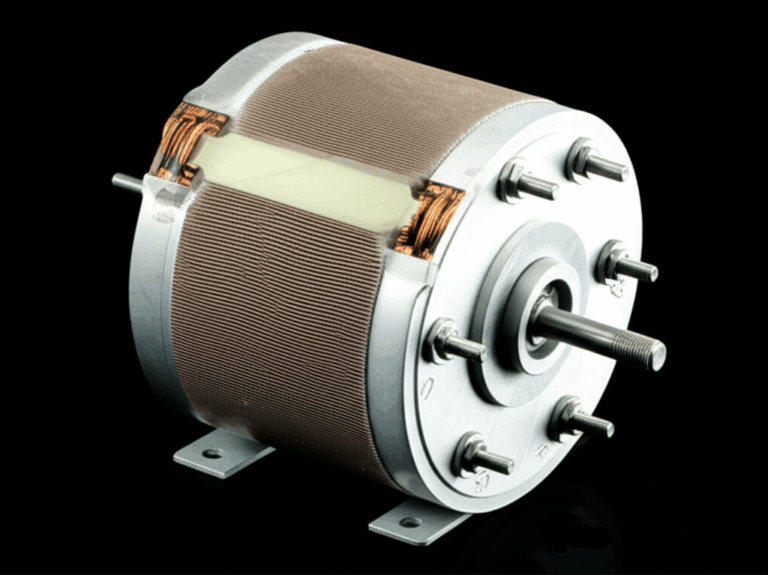
The engine is the heart of your build. Are you looking for the classic feel of an air-cooled V-twin? The high-revving scream of an inline-four? Or the silent torque of an electric motor? Your choice will define the bike’s character. Understanding the basic motor principle behind different engine types can help you decide what best fits your performance goals. You’ll also need to choose a final drive system:
- Chain Drive: The most common, offering efficiency and easy sprocket changes for tuning acceleration.
- Belt Drive: Quiet, clean, and low-maintenance.
- Shaft Drive: Extremely durable and maintenance-free but heavier and more complex.
Frame & Suspension Decisions
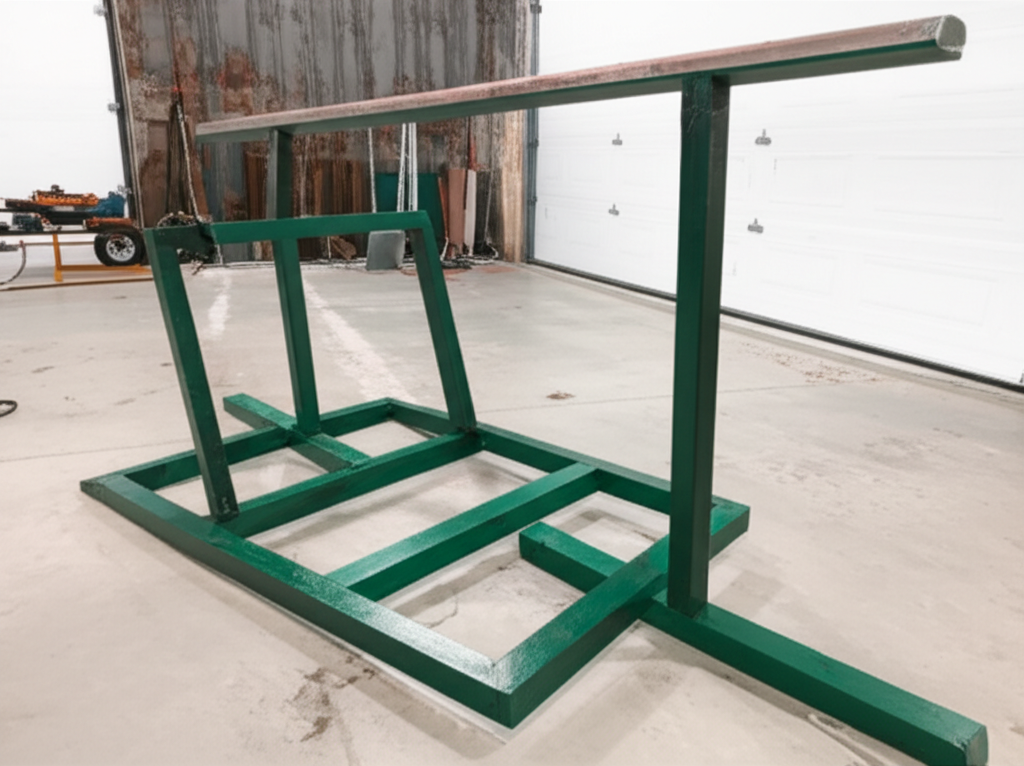
If you’re using a donor, you may only need to modify the subframe. Or you might decide to cut it up and weld on a hardtail section (a rigid rear end with no suspension). If building from scratch, you’ll need a frame jig—a specialized tool that holds the frame components in perfect alignment while you weld.
Suspension is crucial for both handling and comfort. You can rebuild the stock forks and shocks, or you can perform a front-end swap from a modern sportbike for better performance and braking. Rear suspension options are plentiful, from traditional dual shocks to monoshock setups.
Wheels, Tires & Brake System
Wheels and tires define the bike’s stance. Do you want classic spoked wheels or modern cast aluminum? The tire selection should match your build style—knobbies for a scrambler, vintage-tread for a cafe racer.
Don’t skimp on brakes. A custom bike that goes fast must also stop fast. Upgrading to modern disc brakes with stainless steel brake lines is one of the best safety and performance investments you can make. You’ll need to properly select and install master cylinders, calipers, and rotors.
Electrical System Components
For many builders, wiring is the boogeyman. It can be intimidating, but it’s entirely manageable with a systematic approach. You can modify the stock wiring harness or buy a simplified, all-in-one custom harness. Key components include the battery, the charging system (alternator and rectifier/regulator), and the ignition system. Modern LED lights for your headlight and taillight draw less power and are more reliable.
Fuel System & Exhaust
Your fuel tank is a major aesthetic piece. You can modify the stock tank, buy a universal one, or try your hand at fuel tank fabrication from steel or aluminum. You’ll also need to sort out the fuel delivery, whether it’s a classic carburetor or a more modern Electronic Fuel Injection (EFI) system.
The exhaust system is the bike’s voice. Custom exhaust headers and a well-chosen muffler can complete the look and sound of your build.
Controls & Ergonomics
This is all about how the bike fits you. The handlebar style (clip-ons, drag bars, ape hangers) and footpeg placement will determine your riding position. You’ll need to install levers, grips, and mirrors, and set up the shift linkage and rear brake control. Finally, a custom seat, perhaps with some DIY motorcycle seat upholstery, provides the finishing touch.
3. The Fabrication & Assembly Process
Now, the real work starts. This is where your plan and parts come together to form a motorcycle. Work methodically, check your work twice, and don’t be afraid to ask for help.
Frame Modification & Alignment
If you’re modifying the frame, this is your first step. Measure ten times, cut once. Any cutting, welding, or grinding must be done with an eye toward structural integrity. Using a frame jig is the best way to ensure the final chassis is perfectly straight and true.
Engine & Drivetrain Installation
With the frame ready, you can mount the engine. This is a “measure twice, install once” job. Ensure you have the correct engine mounting hardware and that everything is torqued to spec. Aligning the front and rear sprockets is absolutely critical for chain life and safety.
Suspension Setup
Install the front forks into the triple trees, and then mount the rear shocks and swingarm. At this stage, you’re just assembling the parts. The fine-tuning of suspension sag and damping will come later.
Brake System Installation
Mount your calipers to the forks and swingarm, and install the brake rotors on the wheels. Carefully route your new brake lines, avoiding any sharp bends or places where they could get pinched. Bleeding the brakes to remove all air from the system is a critical safety step.
Electrical Wiring & Component Hook-up
Take a deep breath. Start by laying out your wiring harness on the frame. Connect one component at a time, following your motorcycle electrical system diagram religiously. Start with the core systems: ignition, charging, and starting. Then, move on to lights, signals, and instruments. Test each circuit as you complete it.
Fuel System Plumbing
Mount your fuel tank and run the fuel lines. Install any filters and the fuel pump if your system requires one. Connect everything to your carburetor or EFI system, ensuring all connections are secure to prevent leaks.
Exhaust System Installation
Fit your custom exhaust headers to the engine, using new gaskets. Attach your mufflers and fabricate mounting brackets to secure the system to the frame. Check for clearance around the swingarm and your legs.
Bodywork & Finishing Touches
With the core components in place, you can move on to the aesthetics. Fabricate or mount your fenders and any side covers. Now is the time for paint. The bike will need to be completely disassembled again for proper painting or powder coating. This involves sanding, priming, and applying the final color. Once the paint is cured, the final assembly can begin.
Final Assembly & Torquing
This is it. You’re putting your motorcycle together for the last time. As you attach every component, use a torque wrench and follow the torque specifications from the service manual for every critical fastener—especially axle nuts, engine mounts, and brake caliper bolts. This isn’t just good practice; it’s a vital safety measure.
4. Testing, Tuning & Legalization
Your bike is built, but it’s not finished. This final phase turns your creation from a static assembly of parts into a safe, reliable, and road-legal machine.
Pre-Start Checks & Fluid Fills
Before you even think about hitting the starter button, run through a thorough checklist.
- Fill all fluids: engine oil, coolant (if applicable), and brake fluid.
- Check for leaks.
- Verify you have fuel in the tank and the petcock is on.
- Double-check all electrical connections and make sure the battery is fully charged.
- Inspect every critical nut and bolt one last time.
Initial Start-Up & Engine Break-In
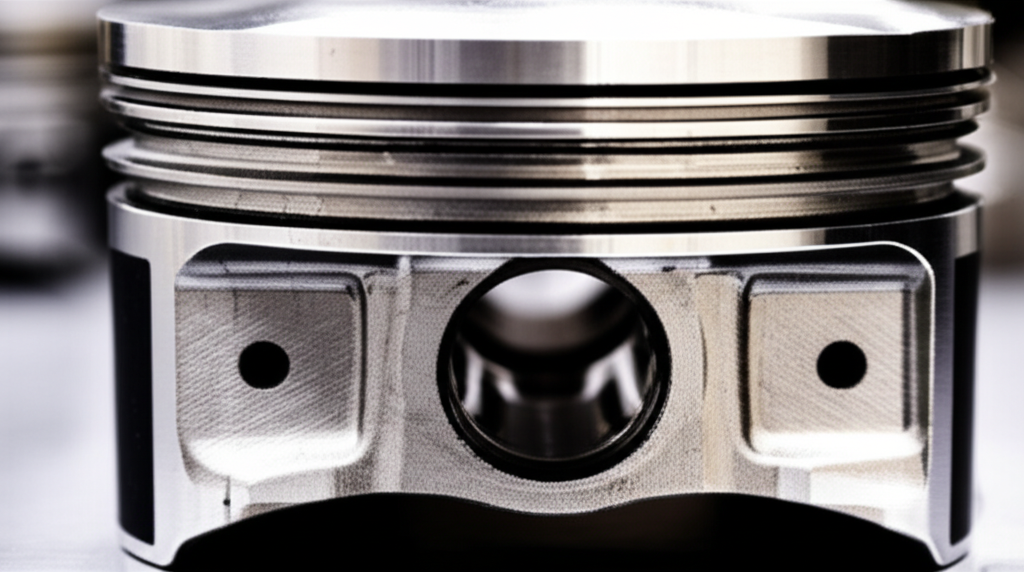
The moment of truth. With the bike in neutral, turn the key and hit the starter. It might take a few tries, but when it fires up for the first time, it’s a moment you’ll never forget. Let it run for just a short period, checking immediately for any fuel or oil leaks and listening for any strange noises. If you’ve rebuilt the engine, follow the recommended engine break-in procedure carefully to ensure the new piston rings and bearings seat properly.
Tuning & Adjustments
A custom bike will never run perfectly right out of the box. You’ll need to tune it.
- Fuel System: This might involve changing jets in your carburetor or adjusting the map on your EFI system to get the air-fuel ratio correct.
- Suspension: Fine-tune the front and rear suspension settings to your weight and riding style.
- Controls: Adjust the chain tension, clutch cable free play, and brake lever position.
Road Testing & Safety Checks
Your first rides should be short and in a controlled environment, like an empty parking lot or a quiet neighborhood street. Test the brakes, acceleration, and handling at low speeds. Listen for new noises and feel for any weird vibrations. Gradually expand your testing as you build confidence in the machine. Identify and fix any issues that arise.
VIN Assignment & Titling Process
With the bike running and tested, it’s time to tackle the bureaucracy. Gather all your receipts and documentation (especially the original title for the donor frame/engine). Follow your state’s procedure for getting a custom-built vehicle inspected and assigned a new VIN. This can be a long process, so be patient and polite with the DMV officials. A common motor problem for builders isn’t mechanical but rather the legal hurdles of registration.
Insurance & Registration
Once you have a new title in your name, you can get the bike insured. Be sure to tell your insurance company that it’s a custom build. With your title and proof of insurance, you can finally head to the DMV to get your license plate and registration. You’re officially street legal.
5. Common Challenges & How to Overcome Them
No build is without its challenges. Foreseeing them can help you power through.
- Budget Overruns: As mentioned, they happen. The best defense is a good plan and a healthy contingency fund. Sourcing good used parts instead of new ones can also help manage costs.
- Parts Compatibility Issues: You’ll inevitably buy a part that doesn’t quite fit. This is where your fabrication skills come in. Be prepared to modify parts or create custom brackets to make everything work together.
- Electrical Nightmares: About 30% of builders report major frustration with wiring. The key is to be patient and systematic. Use a clear wiring diagram, test circuits one by one, and don’t be ashamed to buy a pre-made harness to simplify the job.
- Legal Hurdles: Nearly 20% of builders face titling issues. The solution is proactive research. Understand your local laws before you start building to ensure your plan is compliant from day one.
- Time Commitment: Life gets in the way. It’s common for a project estimated to take 6 months to stretch to 18 months or more. Don’t get discouraged. Set small, achievable goals to maintain momentum. The “90% finished, 90% to go” rule is a real phenomenon in custom building.
Conclusion: Ride Your Own Creation
Building a motorcycle is a marathon, not a sprint. It will test your skills, your patience, and your wallet. There will be moments you want to give up and sell the whole pile of parts. But if you stick with it, if you push through the challenges and learn from your mistakes, you will achieve something truly special.
The feeling of swinging your leg over a machine that exists only because of your vision and your effort is indescribable. It’s a rolling testament to your creativity and determination. Every rumble of the engine, every reflection in the paint, every mile you ride is a reward. You didn’t just buy a motorcycle. You built one. Now, go ride it.