The Ultimate Guide: How to Winterize Your Inboard Boat Motor (Step-by-Step DIY)
As the crisp autumn air rolls in and the boating season winds down, a critical task looms for every boat owner: winterization. You might be tempted to just throw a cover on your boat and call it a day, but I’m here to tell you that’s a recipe for disaster. Ignoring this crucial maintenance can lead to a cracked engine block, ruined systems, and a repair bill that will make your eyes water. This guide is your complete, step-by-step roadmap to properly protect your investment, ensuring your boat is ready to hit the water the moment spring arrives.
Table of Contents
- Why is Winterizing My Inboard Motor So Important?
- What Tools and Supplies Do I Need?
- What Should I Do Before I Start?
- The Step-by-Step Inboard Motor Winterization Process
- Step 1: The Fuel System
- Step 2: Oil and Fluids Change
- Step 3: The Cooling System (Don’t Skip This!)
- Step 4: Protecting the Cylinders
- Step 5: Drive and Steering System Care
- Step 6: Battery Storage
- Step 7: Final Checks and Other Systems
- What About the Rest of the Boat?
- What Are the Biggest Winterization Mistakes to Avoid?
- Should I Hire a Professional?
- Ready for Spring!
Why is Winterizing My Inboard Motor So Important?
Imagine this: the first warm day of spring finally arrives. You head to your boat, filled with excitement, only to find a pool of oily water in the bilge. You discover a massive crack in your engine block because trapped water froze and expanded over the winter. This isn’t just a small problem; it’s a catastrophic failure that can cost thousands to repair or even require a complete engine replacement. This is the number one reason we winterize. It’s not just about maintenance; it’s about preventing the kind of cost of freeze damage that can end your boating season before it even begins.
The thought of that much damage is scary, right? You work hard for your boat, and seeing it sidelined by a preventable issue is heartbreaking. Beyond just avoiding a cracked engine block, proper winterization protects your entire fuel system from corrosion, prevents mildew and pests from making a home in your vessel, and ensures your battery survives the cold months. Think of it as putting your boat to bed for a long, healthy sleep so it wakes up refreshed and ready for action. Taking a few hours to do this now will save you a world of headache and money later. It’s the key to extending the engine life of your boat.
The solution is a straightforward, step-by-step process that anyone can learn. By following this guide, you’ll tackle every critical area, from the fuel tank to the propeller. You’ll flush the cooling system, stabilize the fuel, protect the internal engine components, and secure all other systems. It’s a small investment of time that pays huge dividends in peace of mind and readiness for the next boating season.
What Tools and Supplies Do I Need?
Before you start, let’s gather your arsenal. Having everything ready makes the job go smoothly. You don’t want to be running to the store with your engine half apart.
Engine Fluids and Protection:
- Enough new engine oil for a complete change.
- A new oil filter.
- Fuel stabilizer (brands like Sta-Bil are popular).
- Fogging oil to protect the cylinders.
- Non-toxic marine antifreeze (propylene glycol). Make sure it’s the pink stuff, not the ethylene glycol used in cars!
- Transmission fluid (if your model requires it).
- Lower unit gear lube for V-drive systems.
- Grease for fittings.
Tools and Equipment:
- Socket set and wrenches (including a spark plug wrench).
- Screwdrivers (both flathead and Phillips).
- Oil filter wrench.
- Oil extraction pump.
- Fluid transfer pump for gear lube.
- A “fake-a-lake” or a similar marine engine flushing kit.
- A large bucket or container to catch fluids.
- Shop rags or paper towels.
- A battery tender or battery charger.
- A set of replacement spark plugs (it’s a good time to change them).
Other Important Items:
- Your boat’s owner’s manual. This is your bible!
- Safety glasses and gloves.
- Desiccant or a dehumidifier for moisture control.
- Pest and rodent prevention products.
What Should I Do Before I Start?
First, grab that owner’s manual. Seriously. While this guide covers the general process for most inboard engines like Mercruiser, Volvo Penta, Indmar, and PCM, your specific engine might have unique drain plugs or procedures. Following the manufacturer’s directions is always the best bet.
Next, get all your supplies listed above and have them within arm’s reach. You’ll be working with oil and antifreeze, so lay down some cardboard or an old tarp under the engine to catch any drips.
Finally, make sure your boat is in a good spot for this work. Ideally, you want it on a level surface, either on its trailer or blocked securely at a marina or boatyard. This ensures fluids drain properly and you can work safely. If you’re on a trailer, make sure the tire pressure is good and the hub bearings have been checked.
The Step-by-Step Inboard Motor Winterization Process
Alright, let’s get our hands dirty. Follow these steps in order for a complete and effective winterization.
Step 1: The Fuel System
Bad fuel is a leading cause of engine trouble in the spring. Fuel with ethanol can attract water, leading to corrosion and phase separation, where the ethanol and water sink to the bottom of your tank. This gunk can clog your fuel lines and injectors.
First, top off your fuel tank to about 90% full. This leaves a little room for expansion but minimizes air space where condensation can form. Next, add a quality fuel stabilizer. Follow the instructions on the bottle for the correct amount for your tank size. Now, you need to get that stabilized fuel throughout the entire system. Start the engine (using your flushing kit to supply water) and let it run for 10-15 minutes. This circulates the treated fuel through the fuel lines, pumps, and the carbureted or fuel injected engine components.
Once the engine is warm, this is the perfect time to change the fuel filter and the water separator fuel filter. These filters have been working all season to trap debris and water, so starting next year with fresh ones is a great idea.
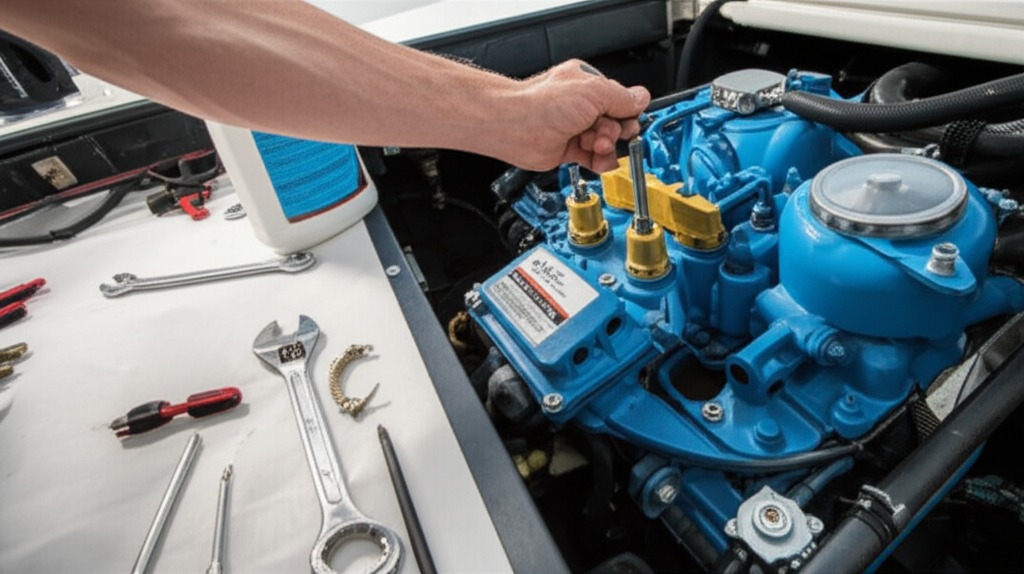
Step 2: Oil and Fluids Change
Old, acidic oil is an engine’s worst enemy. During the season, oil collects contaminants like water, carbon, and acids. If left in the engine all winter, these can corrode internal parts like the crucial motor core laminations that are vital for performance. Changing the oil now removes these harmful substances.
Your engine should still be warm from running the fuel stabilizer through it. Warm oil flows much better, making it easier to drain completely. Use an oil extraction pump through the dipstick tube to remove all the old oil. Once it’s empty, replace the oil filter. Remember to put a light coat of new oil on the filter’s rubber gasket before you screw it on. Then, refill the engine with the manufacturer-recommended grade and amount of new marine engine oil.
While you’re at it, check your transmission fluid. If it’s discolored or milky, it’s time for a change. Also, check the power steering fluid level and top it off if needed. Using quality fluids from brands like Penzoil Marine or Valvoline Marine is always a good investment.
Step 3: The Cooling System (Don’t Skip This!)
This is the most critical step for frozen engine block prevention. Any plain water left in your engine block, exhaust manifold, or heat exchanger will freeze, expand, and crack the metal. This is an engine-killing mistake.
First, you need to drain all the raw water from the system. Look for the engine block drain plugs and manifold drain plugs. Your manual will show you exactly where they are. Remove them and let all the water drain out. Sometimes, sediment can clog these drains, so poke a thin wire or a small screwdriver in the holes to make sure they are clear and draining fully. Don’t forget to drain any other components like coolers or heaters.
Now it’s time to fill the system with antifreeze. You absolutely must use a non-toxic, propylene glycol-based marine antifreeze. The pink-colored antifreeze is the industry standard. Never, ever use automotive antifreeze (usually green or orange), as it is highly toxic and harmful to aquatic life.
For a raw water system (also known as an open cooling system), you’ll run the antifreeze directly through the engine. You can use a large bucket and a hose connected to your engine’s raw water intake, or a specialized engine flushing kit. Start the engine and let it draw in the antifreeze. Keep feeding it until you see the pink antifreeze coming out of the exhaust ports. This tells you the entire system is filled and protected. For engines with a closed cooling system, you only need to drain and replace the antifreeze on the raw water side of the system, which cools the heat exchanger. The enclosed side is already protected by a year-round coolant blend, but you should still check its level and condition.
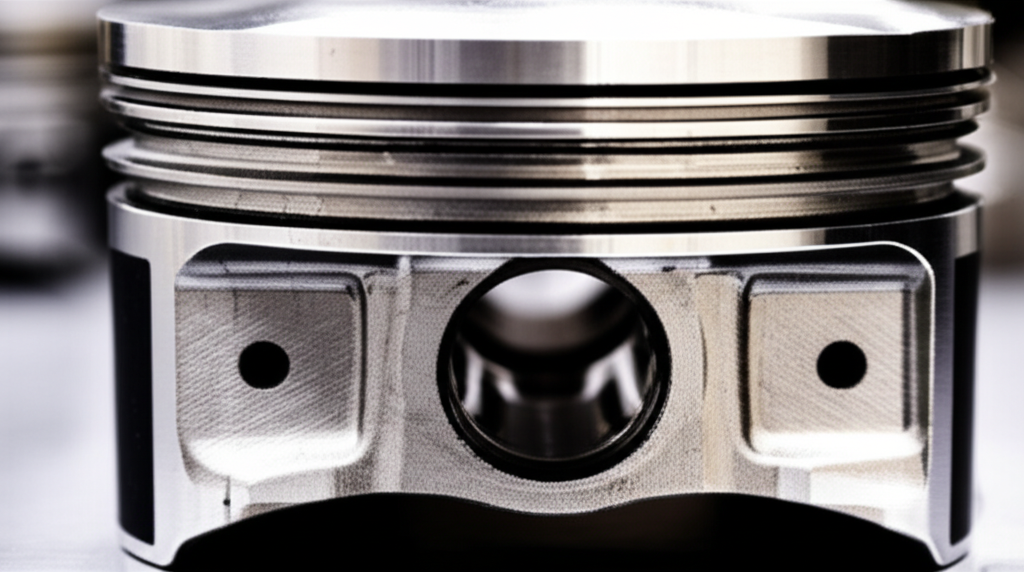
Step 4: Cylinder Protection (Fogging)
Internal engine parts can rust over the long, damp winter layoff. Fogging oil is a special, sticky oil that coats the cylinder walls, pistons, and rings to prevent this corrosion.
With the engine off, remove the spark plugs. Spray a good shot of fogging oil into each cylinder. To spread the oil around, you’ll need to turn the engine over a few times. You can do this by briefly “bumping” the ignition key, but be sure to disable the ignition system first (usually by pulling the safety lanyard) so the engine doesn’t actually start. After fogging, you can either clean and re-gap the old spark plugs or install a new set. Hand-tighten them first, then give them a final turn with a wrench.
Step 5: Drive System & Steering (V-Drive, Direct Drive, Rudder)
Your boat’s propulsion and steering systems also need some winter love. If you have a V-drive, check the owner’s manual for instructions on changing the gear lube. This is a good time to inspect the propeller for any dings or damage. Some people choose to perform a prop removal for the winter to prevent theft and allow for easier repairs.
Next, inspect your steering system. Lubricate all the grease fittings (zerks) on the steering cable, linkages, and rudder post. Turn the wheel back and forth a few times to spread the grease evenly. For traditional inboard boats with a shaft drive, this is also a great time for a stuffing box adjustment or to inspect the shaft packing. If you have a dripless shaft seal, check it for any signs of wear or leaks.
Step 6: Battery Care for Winter Storage
A dead battery is a sad way to start the new season. Cold weather is brutal on batteries, and letting one sit discharged all winter can permanently damage it.
The best practice for marine battery winter storage is to fully charge the battery, then disconnect the negative terminal first, followed by the positive. Remove the battery from the boat. Clean the terminals with a wire brush to remove any corrosion. Store the battery in a cool, dry place off of a concrete floor. A basement is ideal. To keep it healthy, connect it to a smart trickle charger or a battery charger on a low setting once a month. This small step will dramatically increase its lifespan.
Step 7: Final Checks & Ancillary Systems
You’re almost done! Now it’s time for a final walkthrough. Inspect all the belts and hoses. Look for cracks, soft spots, or signs of wear on the serpentine belt and check the belt tension. Squeeze the hoses to feel for any mushy sections and check that all hose clamps are tight and not rusted.
Don’t forget the other systems on your boat. If you have a freshwater system, drain the water tank and water heater. Run the freshwater pump until it’s dry, then pour some non-toxic antifreeze into the tank and pump it through all the faucets until you see pink. If you have a marine head, you’ll need to follow the manufacturer’s instructions for winterizing it, which usually involves pumping out the holding tank and running antifreeze through the system. Do the same for any shower sump pumps or AC unit raw water lines. Taking care of these details prevents a major motor problem from developing over the winter.
Beyond the Motor: Comprehensive Boat Winterization Tips
Protecting your engine is priority number one, but don’t forget the rest of your boat. A thorough cleaning inside and out is crucial. Remove all food, drinks, and personal items. Clean the upholstery and carpets to prevent mildew from forming. This is also your best defense against rodent prevention, as hungry critters won’t have anything to snack on. Placing a few moisture absorbers, like desiccant tubs, inside the cabin and storage compartments will help with humidity control.
Finally, consider your storage plan. A proper boat cover is essential to protect it from snow, ice, and sun. For the ultimate protection, boat shrink wrap creates a drum-tight barrier against the elements. If you store your boat outside, make sure the cover is propped up to shed water and snow, preventing it from pooling and causing damage. Storing it in an indoor boat storage facility is the best option if available.
Common Winterization Mistakes to Avoid
Even with the best intentions, mistakes can happen. Here are the most common ones I see:
- Incomplete Draining: Missing even one drain plug can leave enough water in a low spot to crack the block or manifold. Double-check your manual and feel for any remaining water.
- Using the Wrong Antifreeze: Automotive antifreeze is toxic and will harm the environment. Always use non-toxic marine antifreeze. The internal design of a marine engine, particularly its stator core lamination, isn’t designed for the chemicals in automotive products.
- Forgetting the Fuel Stabilizer: Leaving untreated fuel in the tank is a surefire way to have starting issues in the spring.
- Ignoring Belts and Hoses: A broken belt or burst hose on your first trip of the season is a frustrating and preventable problem.
- Neglecting the Battery: A dead battery is the most common reason for a no-start situation in the spring. Don’t let it happen to you.
| Common Mistake | Consequence | Prevention Method |
|---|---|---|
| Forgetting a Drain Plug | Cracked engine block or exhaust manifold | Use a checklist and your owner’s manual to find all plugs. |
| Using Automotive Antifreeze | Environmental damage and potential system harm | Only use pink, non-toxic propylene glycol antifreeze. |
| Not Stabilizing Fuel | Clogged fuel lines, carburetor, or injectors | Add fuel stabilizer and run the engine to circulate it. |
| Neglecting the Battery | Dead battery in spring, shortened battery life | Remove, clean, store indoors, and use a trickle charger. |
When to Hire a Professional
Feeling a little overwhelmed? That’s okay. While DIY boat winterization can save you money, sometimes calling a professional marine mechanic is the best choice. If you have a very complex engine, like a newer model from Mercury Marine, Volvo Penta, or Indmar Marine Engines, or if your boat has extra systems like a generator or air conditioning, a pro has the specific knowledge to get it done right.
If you lack the time, the right tools, or just want the peace of mind that comes from knowing the job was done perfectly, call your local marina or boatyard. The professional boat winterization service cost is a small price to pay compared to the potential cost of freeze damage.
Ready for Spring!
By following these steps, you’re not just preventing damage; you’re investing in future seasons of fun on the water. You’re ensuring that when that first perfect boating day arrives, you can turn the key and hear your engine roar to life without any nasty surprises. It’s a satisfying end to one season and the perfect preparation for the next.
Key Takeaways:
- Stabilize Your Fuel: Always add fuel stabilizer to a full tank and run the engine to circulate it.
- Change Your Oil: Remove acidic, contaminated oil before storage to protect internal engine parts.
- Drain, Drain, Drain: Draining all water from the engine block and manifolds is the most critical step.
- Use Pink Antifreeze: Flush the system with non-toxic marine antifreeze until it runs out the exhaust.
- Fog the Cylinders: Protect internal metal surfaces from rust and corrosion.
- Care for Your Battery: Remove it, clean it, and keep it on a trickle charger in a safe place.
- Don’t Forget the Rest: Clean the boat thoroughly and cover it properly to prevent mildew, pests, and weather damage.